Dill

March 31 -

Not sure where I'm going to plant my dill.  I looked at the companion planting guide and I'm not finding a good fit in my garden the way it's set up.  I think I'll end up having them somewhere random in my flower beds.

I love having fresh dill in my jars of pickles for my husband and daughter.  Other than that, not sure what else I would do with it??

I started four today.


Cilantro

March 31 -

Plan on growing one square of cilantro...you plant four plants in each square.

Started four indoors today.


Compost: Black Gold

March 30 -


My husband made me this nice compost screen.  It's supposed to fit over a wheel barrow but my wheel barrow's tire was flat.  I bought this bin to place my finished compost in not realizing I was able to fill it up in no time and still hadn't even sifted through a quarter of my compost.  

Once the snow melts, I will add a container full of compost to each bed.


Here's a close up shot


Let me tell you that the pictures of the finished compost does not do it justice.  The soil is rich, black, and smells very earthy


You can see a little friend in the next two shots.  I also had quite a few worms that found it's way into my compost.  That's a good sign :)


Figured out how to Germinate Celery

March 23 -

So apparently celery is the hardest plant to germinate and I do have to admit that I struggled more with these plants than any other.  I thought Rosemary was tough last year.

I ran every kind of test you could think of and finally I got something that works and it's super easy.

Use peat pellets, sprinkle several seeds on top, keep misted, keep dome 2-3 days after you see at least one plant germinate,  and keep on a meat mat.

Don't cover the seeds with soil, don't use plugs, use a mister not anything else to water.

Planting 1 of 3 - I love the shape of these leaves


Planting 2 of 3 - 


Planting 3 of 3 - It's hard to tell from this picture.  I probably should have placed something in the picture so you could understand just how small these plants are.  With the naked eye, they are like thick  hairs.


Top view of all three plantings


Side view so you can see how tall they are getting.  It's hard to believe these will be vessels for snacking on peanut butter this summer!


Peas

March 21 -


I'm supposed to have planted these peas outdoors but my new garden box hasn't been built yet.  I decided to plant in cell trays and place outdoors.  Once I get my garden box built, I will transplant my peas.  Now I feel as if I'm not so behind schedule.

March 23 -

Here's a photo.  I used my seedling garden soil not the plugs.  I want them to feel as if they are outdoors.  I was going to use soil from my garden but I research and every site I read said that you should never do that.  Seems strange because I could plant in there, why couldn't I use the same dirt and plant in these cell trays?  What's the difference?  Well, better be safe than sorry.  I used my organics soil.

Tomato Update

March 23 -

This is the first time I used these cell trays with the rapid rooter plugs for the tomatoes.  You can see that since the plugs are so much lower than the tops of the cells, the plants are a bit leggy.  Once their true leaves develop, I will fill in the cells with soil.  Tomato stems when buried grow more roots so each time you transplant, always plant deeper than the plant was in the last container.  This ensure a strong root system and a nice thick stem.


Love how you can see the little fuzz on the cotyledons (baby leaves).  I'm sure the fuzz has a name but I don't know it.  :)


This is painful for me.  You will see the cotyledons stuck in the seed hull and I want to just pull them out!  It takes everything for me to just leave it alone and let nature take it's course!!!


Basil has sprouted

March 23 -

I planted five purple basil and five green basil.  When they sprouted they looked exactly the same until the first set of true leaves.  Of course it would work out this way but I found the pictures pretty cool.


Cabbage Update

March 23 -

First photo is my second planting


Second photo is my first planting


Third photo shows a comparison view


Peppers Update

March 23 - Photo Update


Planting 5 of 6 and update

March 21 - Planted 5 plants - Again, I only need 4 but am planting an extra in case one doesn't do so well.

March 23 - Here's how my last 4  plantings look compared to each other.


Amazing how beautiful these plants look when they are grown indoors away from the bugs.


Eggplant Planting Time

March 21 -


I'm planting 1 square with 1 plant.  I planted 2 plants on March 21st - planted an extra just in case.


Basil Planting

March 14 -

Basil acts as a natural pest repellent for so many things so I'm growing several basil plants to place between plants for the purpose of repelling insects.  I only have 1 square that I'm using for harvest.  Now that I think about it, I probably should give that square up and place something else in there?

I planted 5 of the Italian Basil and trust me, once 1 plant takes off, 1 is plenty for a family of 4 and we eat a lot of basil.


I have never seen purple basil.  I received these seeds at the Spring Symposium so I plan on placing these in my front yard around my flowers.  Everything in front is pretty much green so it will be nice to have a contrasting color that also repels bugs and I can eat it if I want.  :)

I planted 5 of the Opal Basil.


Tomato Time

March 14 -

My husband is building a 5' X 3' garden box for 15 squares.  I plan on planting 5 each of the 3 varieties.

I planted 6 each in case 1 doesn't make it.  If I have an extra at planting time...of course, my father-in-law and his girlfriend gets them.  I like that because I can always go visit  :)

For canning sauces, I love the Mortgage Lifter Tomato because they are very large with little juice and with lots of meat.  Last year I had two tomatoes that were over four pounds!


These paste tomatoes complement the Mortgage Lifter in sauces since the Mortgage Lifter is pinkish and these are a deep red.  The flavors of these two tomatoes together make the best canned sauce in my opinion.


My husband picked out these Beefsteak Tomatoes to use on sandwiches and burgers.  These are new to me this year.


Bok Choy Update and Planting 4 of 6

March 9 -

Bok Choy hanging out under the lights - these are the January 20th plants.  They are growing at a much faster rate than any of the others.  I think I was over watering which can slow growth down.


My second and third planting are much smaller so I find anything I can around the house to raise them closer to the lights.


Can't believe how fast these are growing.  I might be able to eat them before it's time to plant outside!  Remember how one of my Bok Choy was yellowing?  Look at it now.  You would never know.  So I'm going to assume that the Miracle Grow did it's job.


Here's the 2nd and 3rd planting.  I just realized I was supposed to start more on March 7th...oops.  So I started the fourth planting out of six.


Cabbage Update

March 8th -

My February 14th cabbage is starting to grow its first set of true leaves.


I have two seedlings from my February 28th planting.  I haven't decided which one to keep.  I hate choosing.  I'm really not sure how to pick, I just stare at them forever then pinch one off.  I feel terrible afterwards.  LOL


Finally: My celery germinated!

March 8 -

I thought I would never get the celery to germinate.  I can't remember the day it came up but it was probably March 6th and I planted on February 14th.


For my second planting on February 28th, I soaked a bunch of celery seeds in water and placed it on the heat mat for 24 hours.  I took MANY seeds (which are the size of a flea's poop) and put half in a peat pellet and half in my favorite rapid rooter tree bark plugs.

Yesterday one germinated in the peat pellet and I see nothing in the plug.  I can't believe how fast this one germinated as compared to the first planting.

I started soaking more seeds today for my final planting.  I'm thinking I will use the peat pellet for the celery.  I'm thinking since the seeds are so tiny they do better in this environment than the large hole in the plug.


Pepper Planting Time :) 2 of 2

March 7 -

I'm growing 2 Fresno Peppers and started 3.  I grew last year only because I'm from Fresno so I thought it would be cool to grow.  They ended up being so good and the plant was extremely prolific.


I'm growing 2 bell peppers and planted 3.  I learned last year that a green and a red bell pepper are the same thing.  If you leave the green pepper on the plant long enough, it will turn red.  Notice in the grocery store that red are more expensive than green.  I bet it's because it takes longer to grow.


Yummy!  I'm growing 8 and I planted 10.  There's nothing better than when my husband fires up the grill and says, Honey, will you pick some Jalapenos?  Last year I had 2 plants I every weekend this summer I was able to grill up at least 4-5 peppers, plus I canned and dehydrated several as well.  I'm so excited to have 8 plants this year.  :)


Anaheims are the peppers you get on the side of the road when they fire roast and you make green chili (chili verde) with.  Last year I planted 1 and it died.  I have no idea why.  This year we are planting 2 and I'm growing 3.


The was pepper is so good when you can them in rings and put them on sandwiches.  Last year I grew 1 and it produced and produced and produced.  I'm hoping that's how this plant usually behaves so I'm sticking with just 1 again this year.  I'm growing 1 and planted 2.


Poblano are so good to stuff with meat...yummy.  Last year every pepper was either sun scaled or had a disease so I never ate any of them.  This year I'm growing 2 and planted 3.


Here's something new I bought for gardening.  If you know me well, you know I'm cheap and will not buy everything at once.  So when I do buy something, it's super exciting.  I got this pressure sprayer to spray the tops of the pellets or plugs BEFORE the seedlings appears.  I'm also going to use it outside for my carrots and radishes...again, BEFORE the seedlings appear.


Here's a picture of the whole thing :)


So I took my plugs and cut them with scissors and placed them into these cells.   I used my new pressure sprayer and sprayed the tops and poured some warm water into the bottom of the green house.  I placed the clear dome on top and placed on my heat mat.  I left it for about an hour.  Long enough to get everything nice and warm.  I placed 3-4 seeds into each hole and then labeled.


Here's a closer look.


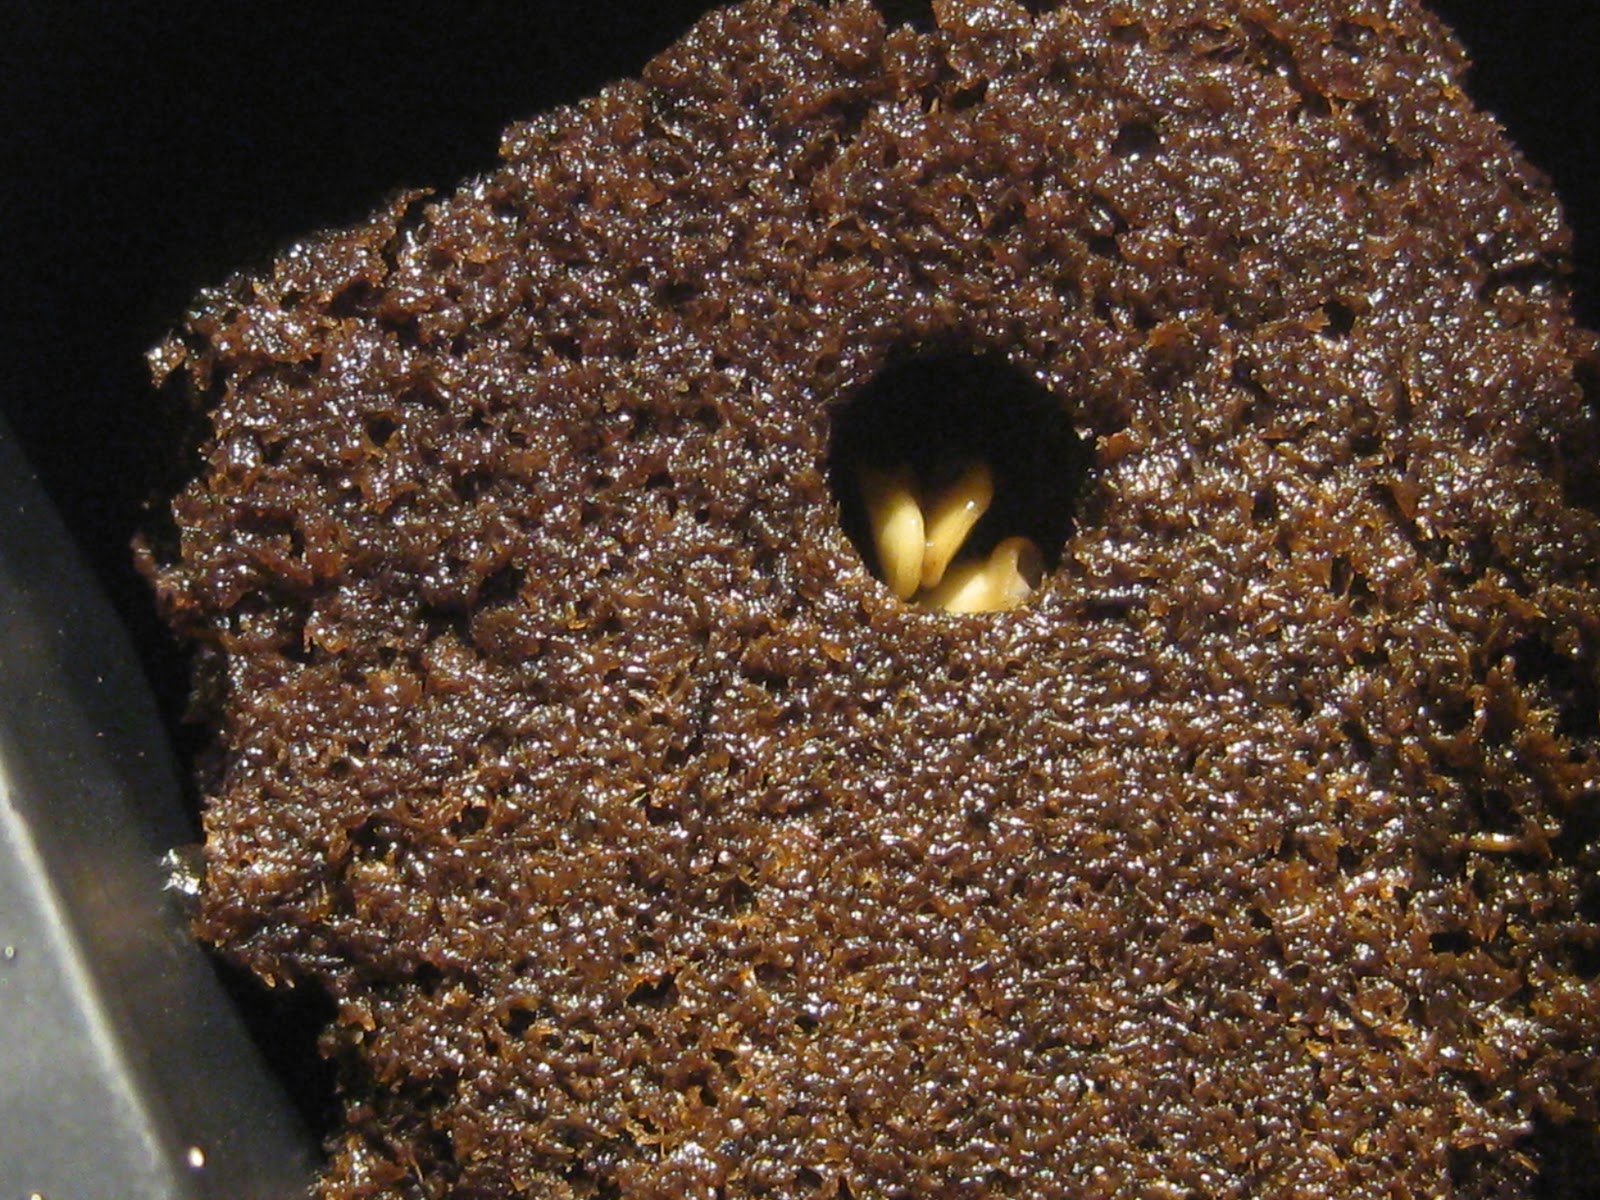
I then took some extra bark off the edges of a couple of plugs and placed a tiny piece into each hole.


Remember I started 3 Habaneros last week.  Well one germinated.


You can see my set up how it looks today.